How to Hem Pants at Home or When to Use a Tailor
Learn how to hem pants with the right measurements, a step-by-step sewing method, and clear tips on when a professional alteration is the better choice.
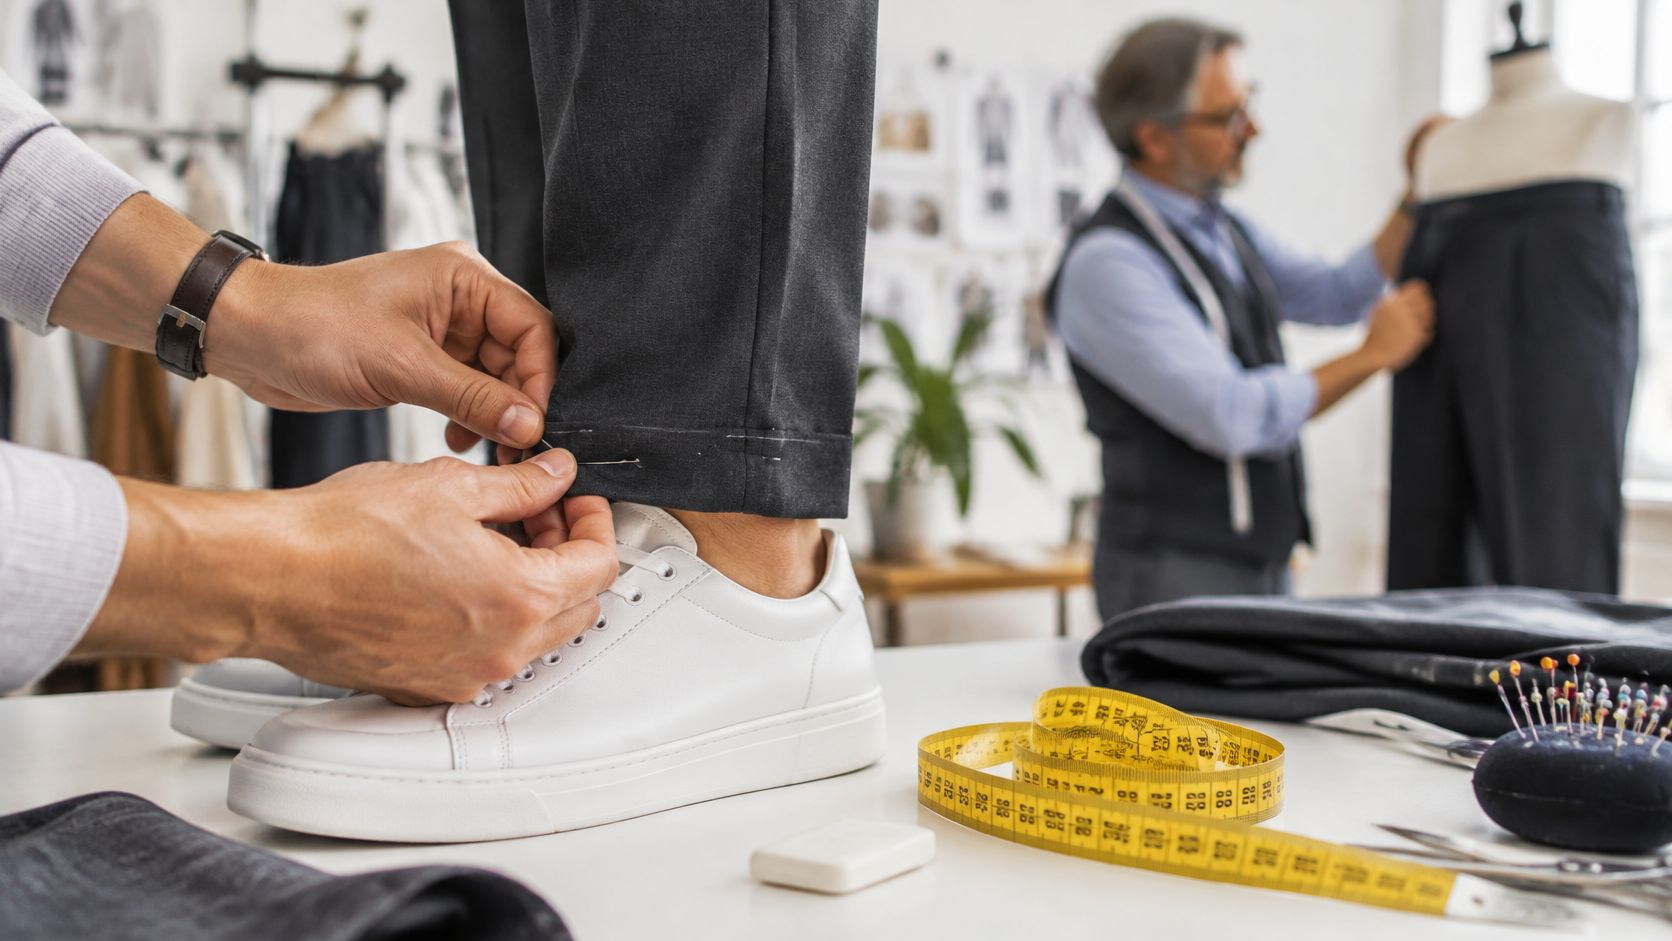
You've found pants that fit beautifully at the waist and hips, then pool around your shoes. Shortening them looks simple, and for a straight woven pair it often is. Most failures happen before the scissors come out. You measured in the wrong shoes, cut before washing, or chose a machine stitch for fabric that needed a blind hem. When you're learning how to hem pants, treat it as a fit problem first. Get the finished inseam right, then pick the method your fabric can handle.
Measure Your Inseam Before You Cut
That pooling at the ankle isn't your fault, and it doesn't mean you bought the wrong size. A federal research report on the Canada Standard Size Program states that clothing sizes sold in Canada did not necessarily correspond to average body measurements, and sizes still vary by brand. A label is a guide, not a set of body measurements. That's why a pair can fit at the waist and still carry extra length.
The inseam is the distance from the crotch seam to the bottom hem. You need that number for the finished garment, not a guess taken from the tag.
Two Reliable Ways to Set the Length
- Use a reference pair: Lay a similar, well fitting pair flat, smooth the leg without stretching it, and measure from the crotch seam straight to the hem. This works best when the rise and style match the new pair.
- Pin them on your body: Put the pants on with the shoes you'll wear, stand naturally, and pin the fold where you want the hem to break. Have someone else pin if you can, because bending shifts the leg.
Don't measure from the floor, and don't measure seated unless seated wear is the point of the fitting. Shoe height, posture and the shape of your calf all change where the cloth falls. A hem that looks right barefoot can ride high over a boot.
Check Both Legs Separately
Mark each leg on its own, then compare them laid flat with inseams and outseams aligned. Small differences between legs are normal. Copying one leg's measurement blindly onto the other is how you get a visible mismatch at the ankle.
Before you cut: Write down the target finished length, the measurement for each leg, and your chosen allowance. If those three numbers aren't on paper, you aren't ready for scissors.
Use the allowance table below for every later step. The allowance is the fabric you keep below the fold line, and it's what gives the hem weight and a clean finish.
| Pant type | Hem allowance | Finish note |
|---|---|---|
| Standard woven trousers | 1 inch below the fold line | Double fold, straight stitch about 1/4 inch from the edge |
| Deep or heavy finish hem | 1.5 to 2 inches | Use when a heavier, more durable finish is wanted |
| 100% cotton trousers | Add 1/2 inch for shrinkage | Launder and dry first, then measure and cut |
| Jeans with original hem | Trim at the existing hem line | Keep the original topstitching and hem style |
| Wool or lined dress pants | 1.5 to 2 inches on the shell | Check lining length and trim it separately from the shell |
Keep enough allowance for a future adjustment where the style allows it. Fabric you leave can be let down later. Fabric you cut off can't be put back.
How to Hem Pants Step by Step
The sequence matters more than the stitch. A Canadian sewing studio guide to a simple pants hem recommends marking the fold line, then a cutting line approximately 1 inch below it, finishing the raw edge with a close zigzag, and sewing about 1/4 inch from the finished edge. Follow the order below and don't skip ahead to cutting.
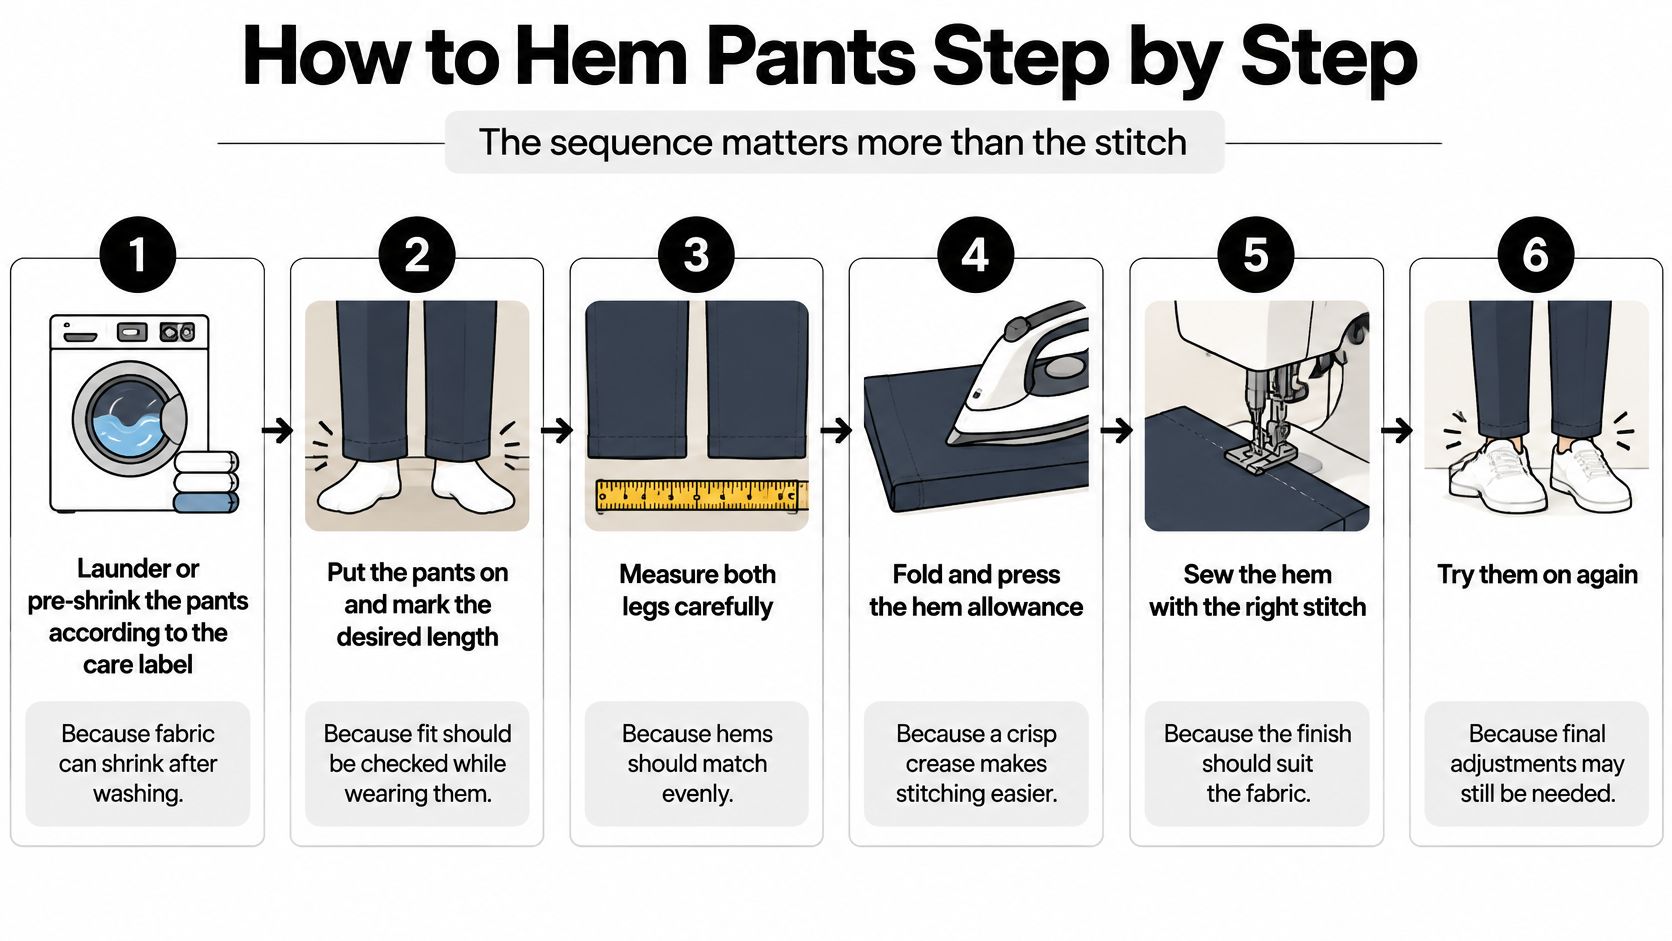
- Launder or pre-shrink first: Wash and dry the pants according to the care label before you measure for cutting. Cotton that shrinks after hemming leaves you with a hem that's suddenly too short, and there's no fix for that.
- Mark the fold line while wearing them: Put the pants on with your usual shoes for that pair. Pin or chalk the desired finished length all the way around each leg, front and back, because the front break and the back drop aren't the same.
- Mark the cutting line: Take the pants off, lay them flat, and draw a second line below the fold line using your allowance from the table. That means 1 inch for a standard hem, or 1.5 to 2 inches for a deeper, heavier finish.
- Trim and finish the raw edge: Cut along the cutting line with sharp fabric shears. Run a close zigzag stitch along the raw edge, or use a serger if you have one, so the edge doesn't fray inside the hem.
- Fold, pin and compare: Fold up along the fold line, pin around each leg, and press lightly to set the crease. Lay both legs together and confirm the inseams line up and the lengths match before any stitching.
- Sew the hem: Use a straight stitch about 1/4 inch from the folded edge. Guide the fabric gently and remove pins as you reach them, because stitching over pins can snap a needle and cause skipped stitches. Don't pull the cloth through the machine. Let the feed dogs move it.
- Press with steam: Press the finished hem flat, lifting and setting the iron rather than dragging it. Pulling or sliding distorts the fold and can leave a wavy edge.
- Try them on again: Check the hemline is level all around, the stitch tension hasn't puckered the fabric, and the break looks right in your shoes. Walk a few steps. A hem that only looks right standing still isn't finished.
Tools That Actually Matter
You'll need pins, tailor's chalk, a tape measure and sharp shears, plus thread that matches the fabric colour. A seam ripper helps if you're removing the original hem first. Press out the old crease fully after unpicking, or it'll fight your new fold line.
Do the measuring and pressing slowly. The sewing itself takes about a minute per leg.
If you're hemming by hand, the preparation is identical. Only the final stitch changes. Don't treat hand sewing as an excuse to skip pressing. A crisp crease is what keeps hand stitches even and the fold from wandering as you work around the leg.
Fixing Common Hemming Mistakes
The most common complaint is a hem that rides up once you start walking. You almost certainly measured seated or barefoot. Use inseam based verification rather than a waistband to floor measurement. A Canadian Linen sizing guide defines inseam as the distance from the crotch seam to the bottom hem, recommends measuring a similar well fitting pair laid flat, and advises allowing 1/2 inch for shrinkage on 100% cotton trousers.
| Symptom | Likely cause | Fix |
|---|---|---|
| Hem rides up at the back | Measured while seated or barefoot | Re-measure standing in the shoes you will wear |
| Puckered or wavy hem | Fabric pulled while sewing or stitch too tight | Ease the fabric through, press with steam, re-stitch |
| Uneven leg length | Legs marked from different reference points | Compare both legs flat and align inseams before cutting |
| Raw edge fraying | Single turn with no zigzag finish | Zigzag the raw edge and use a double fold |
| Stitch line showing | Thread colour or stitch length not matched | Match thread and stitch length to the original |
| Hem shrinks after washing | Cut before pre-shrinking | Launder first and allow 1/2 inch for cotton |
The Error You Can't Reverse
Tapering the lower leg by accident is the costliest mistake. It happens when you cut on a diagonal or take in the side seam while folding. A new hem can't restore cloth you've removed, and the leg will twist or pull at the calf.
A double fold hem hides the raw edge and outlasts a single turn, so prefer it when you aren't preserving an original detail. Match the original thread colour and stitch length closely. A hem can be the right length and still look homemade because the stitching announces itself.
Here's my quick test for a one evening fix. If correcting the length means removing original topstitching, a cuff or a factory hem and rebuilding it, that's no longer a quick job. Book a tailor to re-sew the original hem instead of practising on a pair you like.
Hemming Jeans, Suit Trousers and Stretch Fabrics
Fabric sets the method. The University of Alberta report on fighting fabric waste notes Canada's federal government identifies textiles as the fifth largest category of plastic waste sent to landfills, with approximately 98% of plastic textile waste ending up there. A hem that keeps a wearable pair in use is a durability decision, but only if the method suits the cloth.
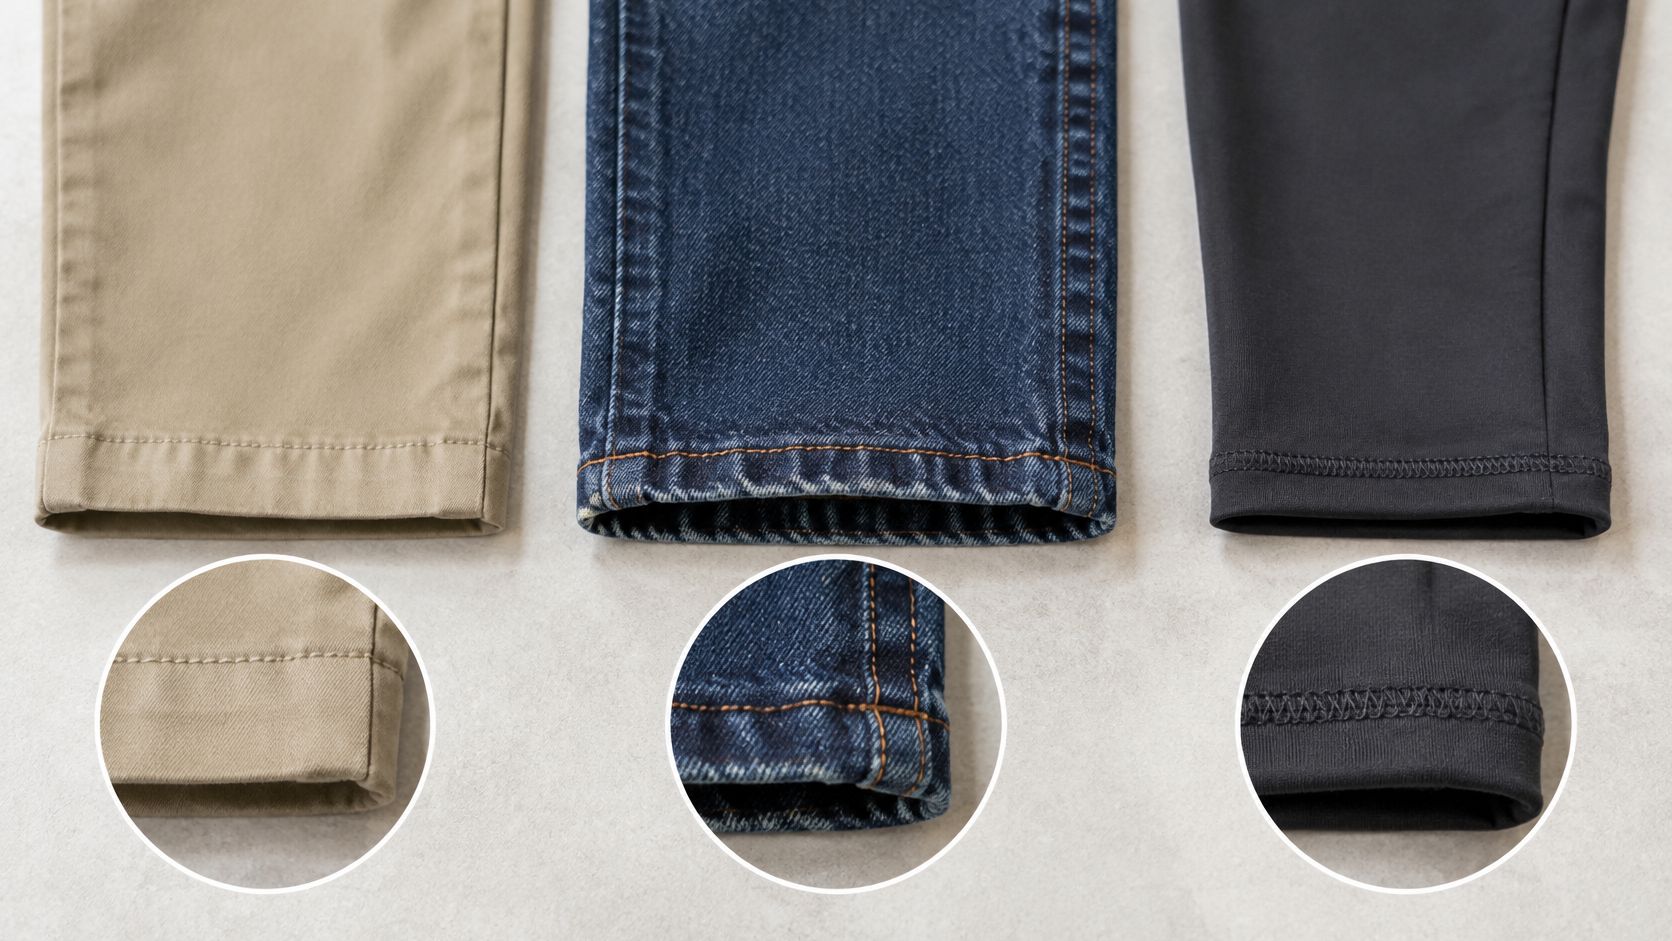
Stable woven cotton is the easiest case. A standard double fold hem with a straight stitch holds well and forgives minor errors. If you're new, start here.
Denim resists at the side seams, where layers build up thick. Use a heavy duty jeans needle, sew slowly over the seams, and match the original topstitching thread. Keeping the original hem preserves the faded factory edge many desire.
Stretch denim and knits distort under a straight stitch and skip stitches. Use a stretch compatible stitch or a narrow zigzag, avoid pulling the fabric, and test on a scrap or the trimmed offcut first. A walking foot helps the layers feed evenly.
The Blind Hem for Suit Trousers
Wool and lined dress pants need a hand stitched blind hem, because a visible machine line ruins the finish. Fold the hem, secure your thread at a side seam, take a long stitch inside the fold, then catch only a few threads of the shell. Repeat around the leg without pulling tight. Trim and hem the lining separately so it sits above the shell hem and never peeks below it.
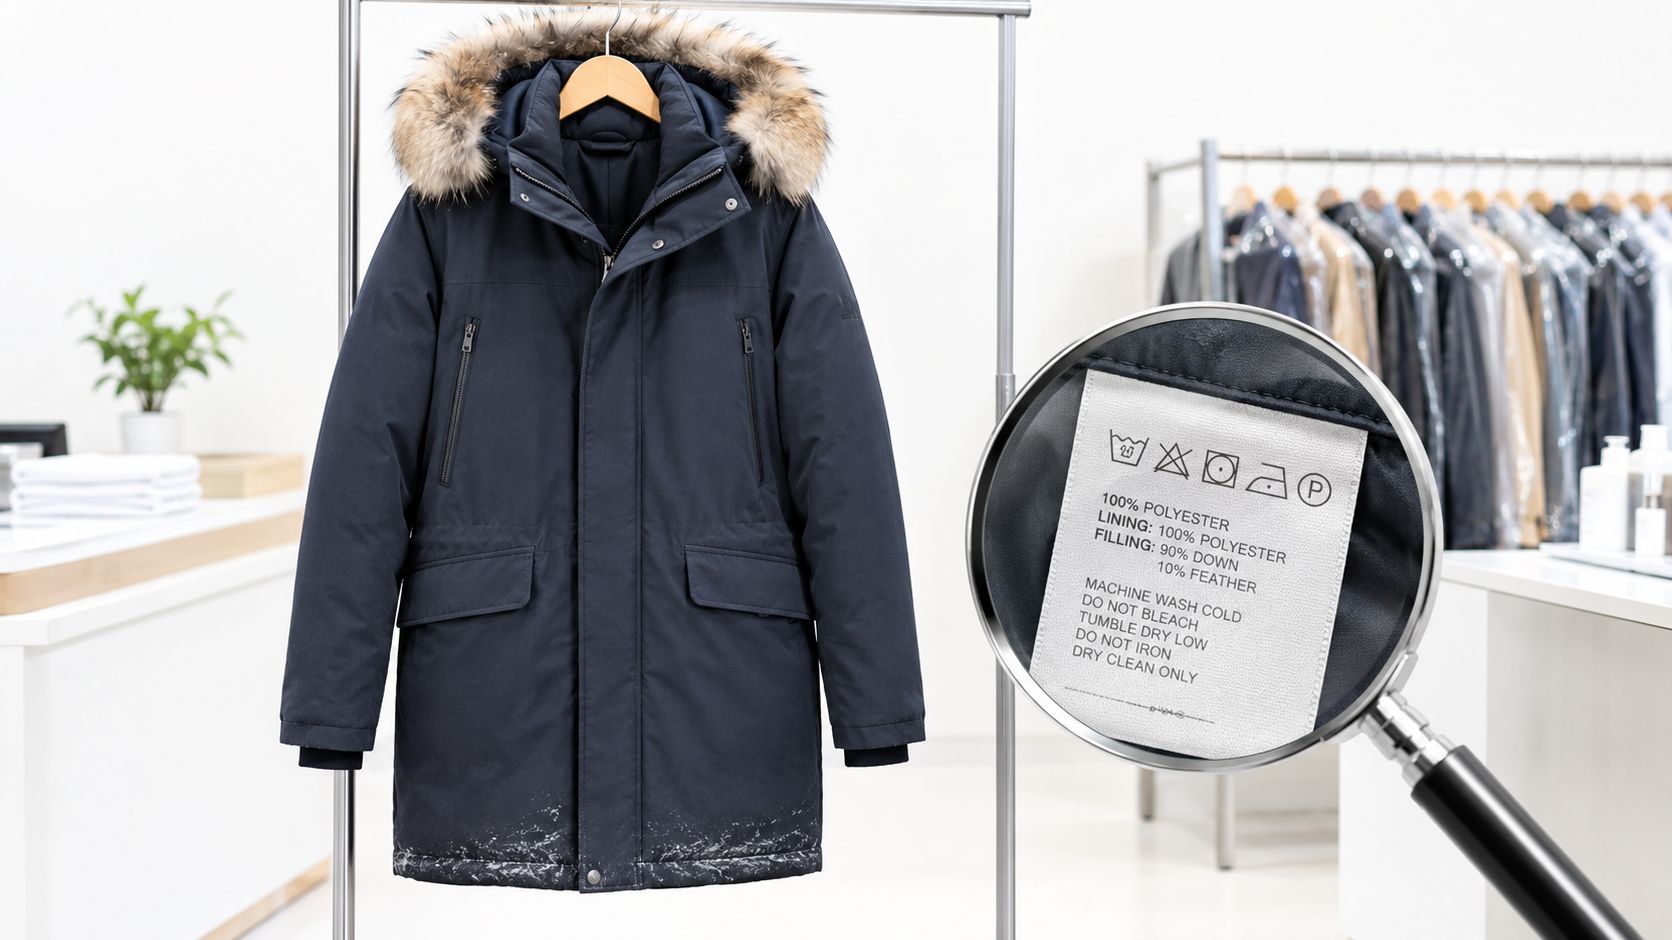
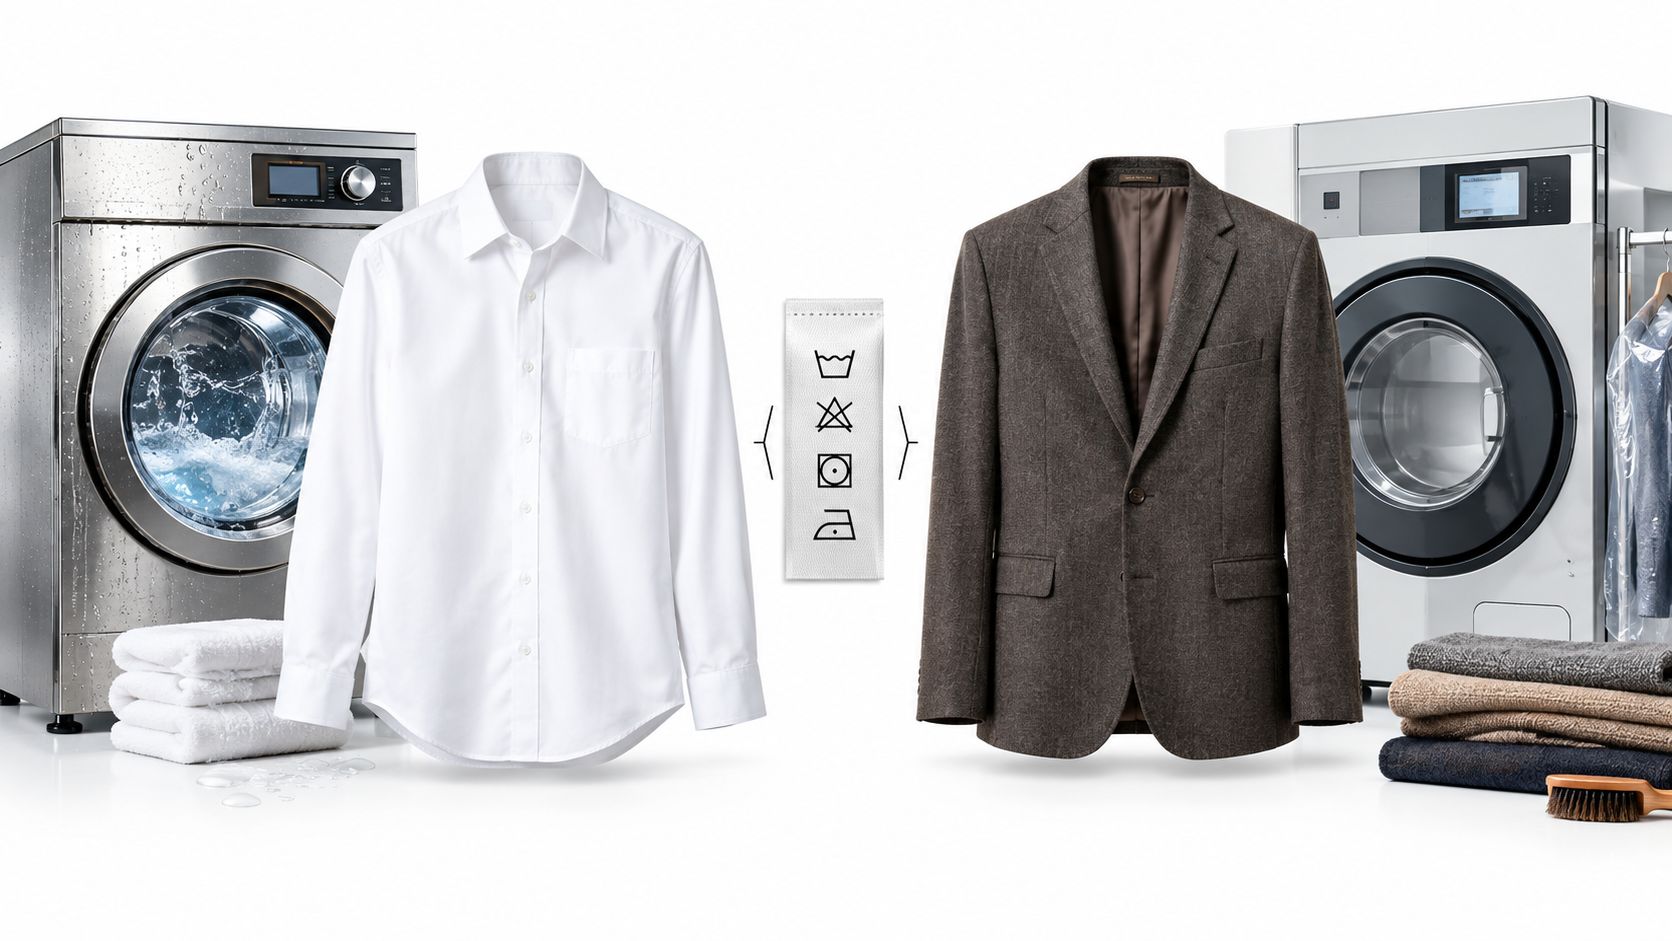
Technical synthetics may not hold a crease and can shine or melt under a hot iron. Test heat on a hidden spot and use low heat. These fabrics also raise a care question before you alter them, so it's worth understanding how wet cleaning compares with dry cleaning for garments you can't wash at home.
| Fabric or detail | Recommended method | DIY risk |
|---|---|---|
| Stable woven cotton | Standard double-fold hem | Low |
| Denim jeans | Keep original hem or match the topstitching | Medium, thick seams strain home machines |
| Stretch denim or knit | Stretch-compatible stitch or narrow zigzag, tested on scrap | High, distortion and skipped stitches |
| Wool or suit trousers | Hand-stitched blind hem, lining trimmed separately | High, visible stitches and lost finish |
| Technical synthetics | Test heat tolerance first, use low iron heat | Medium, may not hold a crease or may be damaged |
| Trousers with cuffs | Shorten above the cuff or remove and re-sew it | High, cuff detail can be lost |
When a Professional Alteration Is the Better Choice
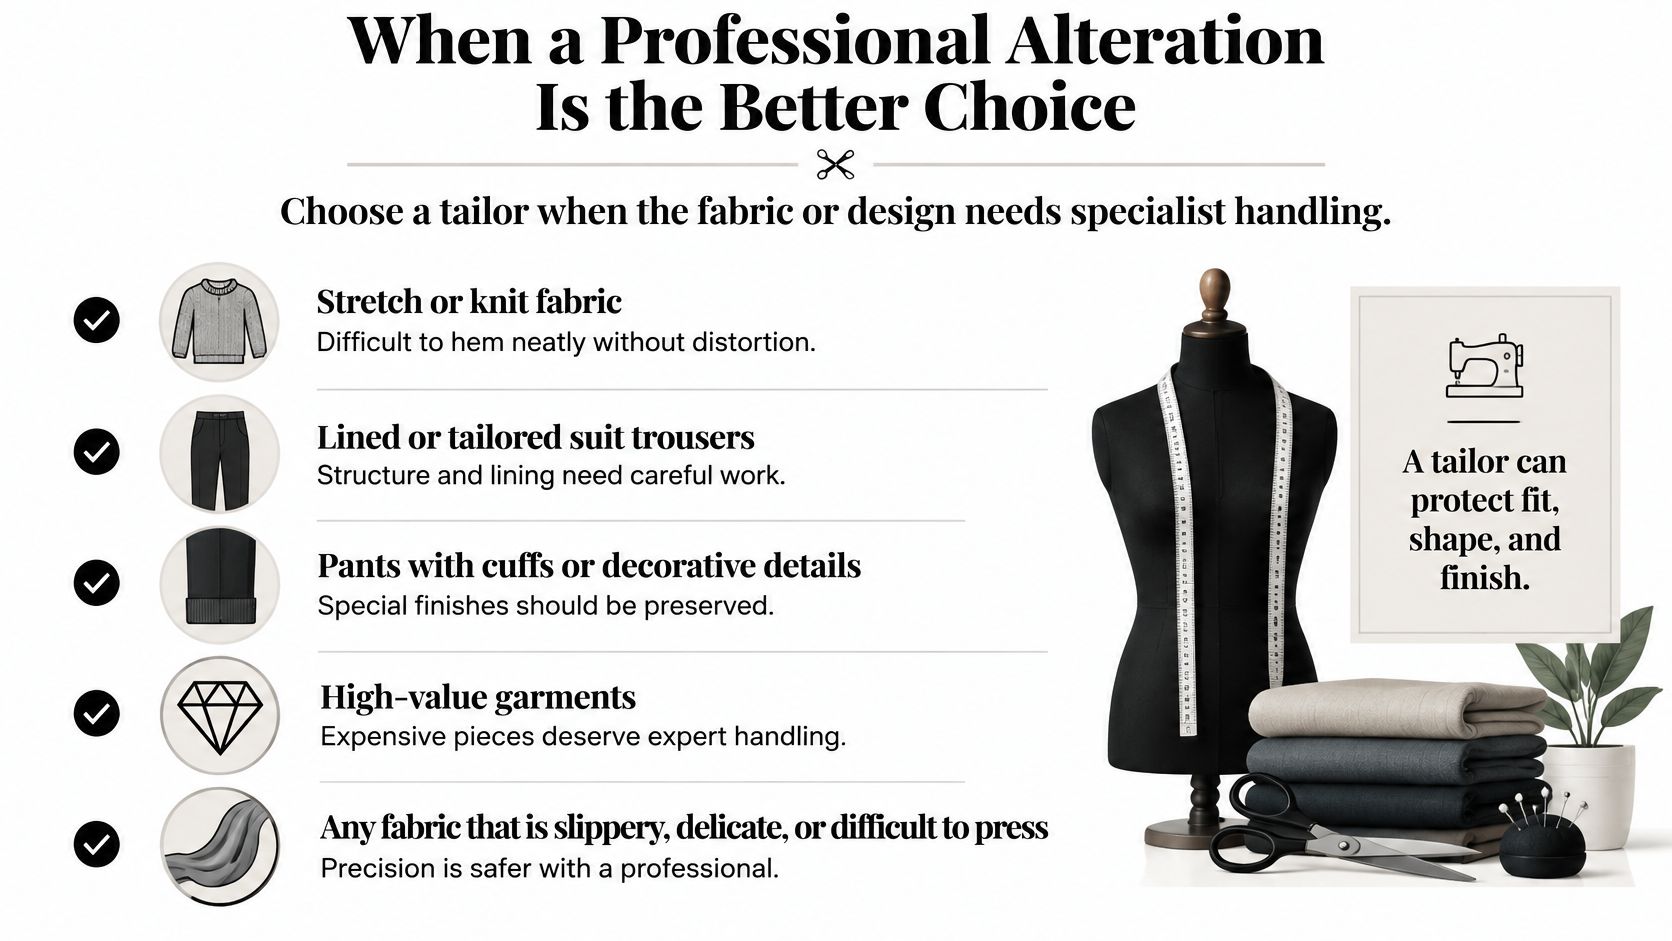
Some hems are worth paying for, and the deciding factor is what a mistake costs. I'd book the alteration in any of these cases.
- Stretch or knit fabric: It distorts and skips stitches without the right foot and stitch.
- Lined or structured suit trousers: The lining, structure and blind finish need separate handling.
- Cuffs or decorative details: Rebuilding them cleanly takes more than a straight fold.
- High value garments: A mistake costs more than the alteration fee.
- A failed first attempt: Unpicking and re-cutting eats into your remaining allowance.
Fit Needs That Change the Measurement
Standard fitting advice assumes you can stand while the tailor pins. That isn't right for everyone. Seated measurements may be necessary, and footwear or orthotics change the correct break. An apparently uneven hem can reflect a real leg length difference, so a professional should measure each leg on your body rather than forcing them to match on the table.
The best hem isn't always the shortest or the most fashionable one. Clearance from wheels, walkers or wet sidewalks can matter more than appearance, balanced against enough coverage for comfort. Say so at the fitting. The Dufferin County note on closing the loop on textiles cites a Canadian academic review estimating approximately 1.1 million tonnes of textile waste annually, or 31.2 kilograms per person. A well done alteration keeps a pair in rotation for years, which is the whole point.
What It Costs in the Toronto Area
| Service | Listed price (CAD) | Source type |
|---|---|---|
| Pants hemming | From 15 | Toronto area sewing and alteration shop |
| Trouser hemming | 20 to 25 | Toronto alteration price guide |
| Jeans hemming | 20 to 30 | Both Toronto guides above |
Denim sits at the top of the range because the bulk takes more time at the machine. A DIY hem costs you hours and risks fabric you can't replace; a professional fitting costs money and protects the garment. On an inexpensive cotton pair, practise at home. On the suit trousers you wear weekly, pay for the fitting.
Prepare Your Pants Before Booking a Tailor
A tailor can only pin what you show up wearing. Arrive prepared and the result improves.
- Wear the right shoes: Bring the footwear you'll pair with the pants, including orthotics if you use them. Hem length measured in sneakers will sit wrong in heels.
- Bring your usual layers: Wear the belt and underlayers you normally use, since they change where the waistband sits and where the break lands.
- Bring a reference pair: A well fitting pair gives the tailor a target inseam to check against your body.
- Get specifics confirmed: Ask for the finished inseam and hem style in writing, including whether the original hem will be kept.
Ask how long the job will take and get a quote before work starts, since pricing varies by pant type and detail. CleanOnline's alteration services include hemming pants, tightening hems and fixing loose stitches, and when you drop items off for alteration, the branch crew tells you the expected completion time.
Decision rule: If the fabric is stable, the hem is straight, and you have a clean cutting line, a home hem is reasonable. Otherwise, book the alteration.
If your pants need a hem you would rather not risk at home, bring them in with the shoes you plan to wear and visit CleanOnline, North York's Premium Dry Cleaners to arrange your alteration in North York.