Washing Hockey Gear: How to Clean, Dry, and Deodorize
Washing hockey gear properly kills bacteria, not just odour. Learn safe washing and drying methods, how often to clean each item, and when to call a pro.
A Calgary hockey-equipment hygiene assessment recorded 86,000 bacterial particles on knee pads and 79,000 on gloves, against an acceptable surface benchmark of 25 particles under the provincial guidelines cited in the Hockey Calgary hygiene report. That familiar blast of odour when someone unzips a hockey bag in the car or mudroom deserves more than a deodorizer. Washing hockey gear is a hygiene job, and the wash isn't finished until the equipment is dry.
Why Washing Hockey Gear Matters Beyond the Smell
The Calgary results aren't a diagnosis of your child's equipment. They don't establish that every glove carries the same contamination, or that a particular bacterial count will cause an infection. They do provide a concrete reason to stop treating dirty equipment as merely unpleasant.
Smell is a warning, not a cleanliness test. A strongly scented glove can still contain damp lining and accumulated grime. Conversely, equipment doesn't have to clear the room before it deserves attention.
What stays inside the padding
During play, equipment collects sweat, skin material and moisture. Absorbent linings and enclosed padding hold that mixture where a quick surface wipe can't reach it. Gloves, pad interiors and athletic-protection components deserve attention because their contact surfaces can remain damp even when the outside feels ready to pack.
The practical distinction is between removing soil and managing moisture:
- Washing removes accumulated grime. Use a method suited to the fabric, padding and protective structure rather than treating the entire bag as ordinary laundry.
- Drying addresses the damp environment. Cleaning without enough drying time leaves an important part of the job unfinished.
- Inspection checks whether gear remains usable. Clean padding isn't necessarily sound padding, and washing won't repair a damaged protective shell.
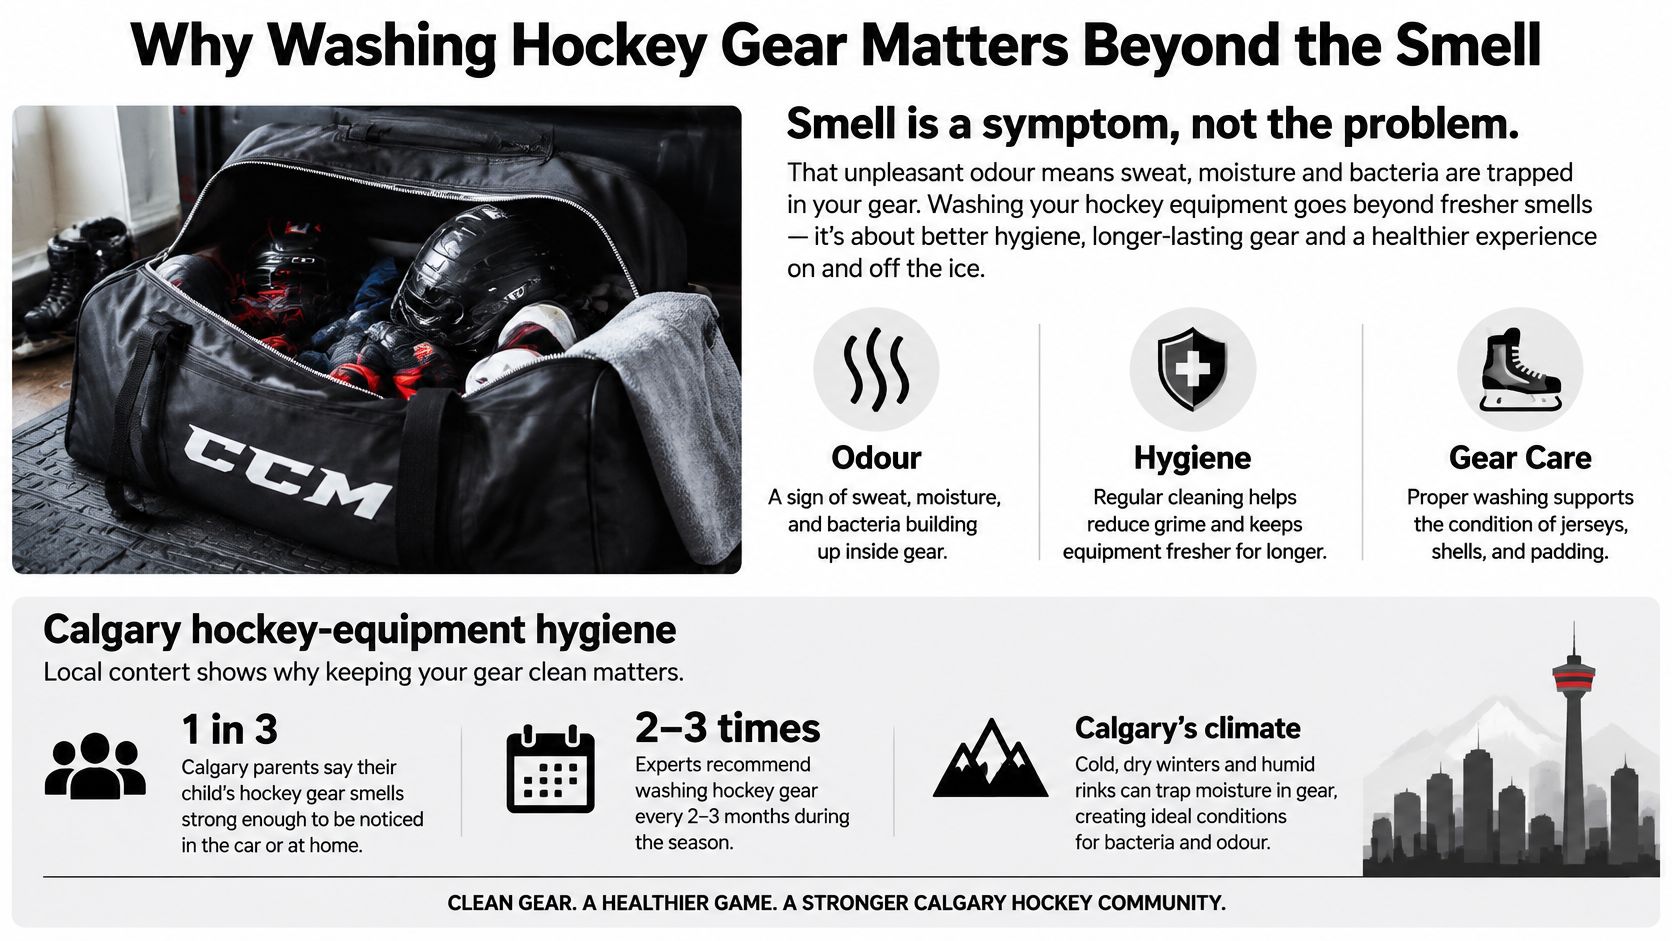
The hygiene priorities are illustrated below.
Why a rinse isn't enough
A rinse-and-hope approach skips the decisions that matter: whether detergent reached the dirty lining, whether residue was removed, and whether the deepest surfaces dried. Adding fragrance doesn't answer any of those questions.
The right objective isn't to make equipment smell like fresh laundry at any cost. It's to clean it without compromising the materials the player relies on. Aggressive washing can be the wrong choice even when the gear is filthy.
Treat the bag as a collection of different cleaning jobs, not a single load. That approach respects both hygiene and equipment condition, while making the ride home considerably more tolerable.
How Often to Wash Each Piece of Hockey Equipment
Infrequent washing is the starting problem. In a February 2018 national Leger survey of 1,575 Canadian equipment owners, 77% washed their hockey gear once a year or less; among those who never washed it, 25% didn't know it could be washed, according to the Canadian hockey-equipment washing survey.
That's a Canadian baseline, not a measurement of Toronto households specifically. Still, it identifies a useful starting point: make routine maintenance clear enough to happen.
Hockey Gear Cleaning Schedule
Hockey Canada's post-use cleaning guidance recommends cleaning equipment after every practice or game, washing textiles according to manufacturer instructions, and air-drying equipment after use. Use the schedule below as a household workflow, with each item's care label taking priority.
| Gear Item | After Every Use | Deep Clean Frequency |
|---|---|---|
| Jerseys, hockey socks and base layers | Separate for label-approved washing | Address remaining soil during routine laundering |
| Pant shells | Wash according to the label after use | Check seams and heavily soiled areas during washing |
| Shoulder, elbow and shin pads | Clean accessible surfaces and air separately | Schedule removable-padding cleaning through the season, following product instructions |
| Gloves | Open cuffs, inspect and rack-dry | Clean by the permitted method when soiled or persistently odorous |
| Helmet and face protection | Wipe accessible contact surfaces and dry | Perform a detailed clean and inspection according to the manual |
| Skates | Open boots and dry boots and blades | Clean accessible surfaces as directed by the manufacturer |
| Athletic cup and carrier | Separate hard protection from washable fabric | Follow each component's cleaning instructions |
| Hockey bag | Empty and ventilate | Clean the interior when dirty and before returning freshly cleaned gear |
Plan around drying capacity
After-use maintenance isn't the same as immersing every pad after every skate. A wipe-down, textile wash and full airing are manageable routine tasks. A deeper padded-equipment clean needs a suitable gap before the next ice time.
In a Toronto apartment, choose the drying location before starting the wash. A rack that's already crowded with household laundry won't suddenly accommodate an entire set of protective equipment. In a shared basement, agree on a clear area rather than leaving pieces piled beside the washer.
Keep clean textiles separate from equipment awaiting treatment. That small organisational choice prevents the next load from disappearing back into the bag because nobody knows which pieces are ready.
How to Wash and Dry Hockey Gear at Home
Start with the care labels and product manuals, not the washing machine. A piece fitting through the washer door doesn't mean it belongs inside. When instructions are missing, seek manufacturer guidance rather than guessing with protective equipment.
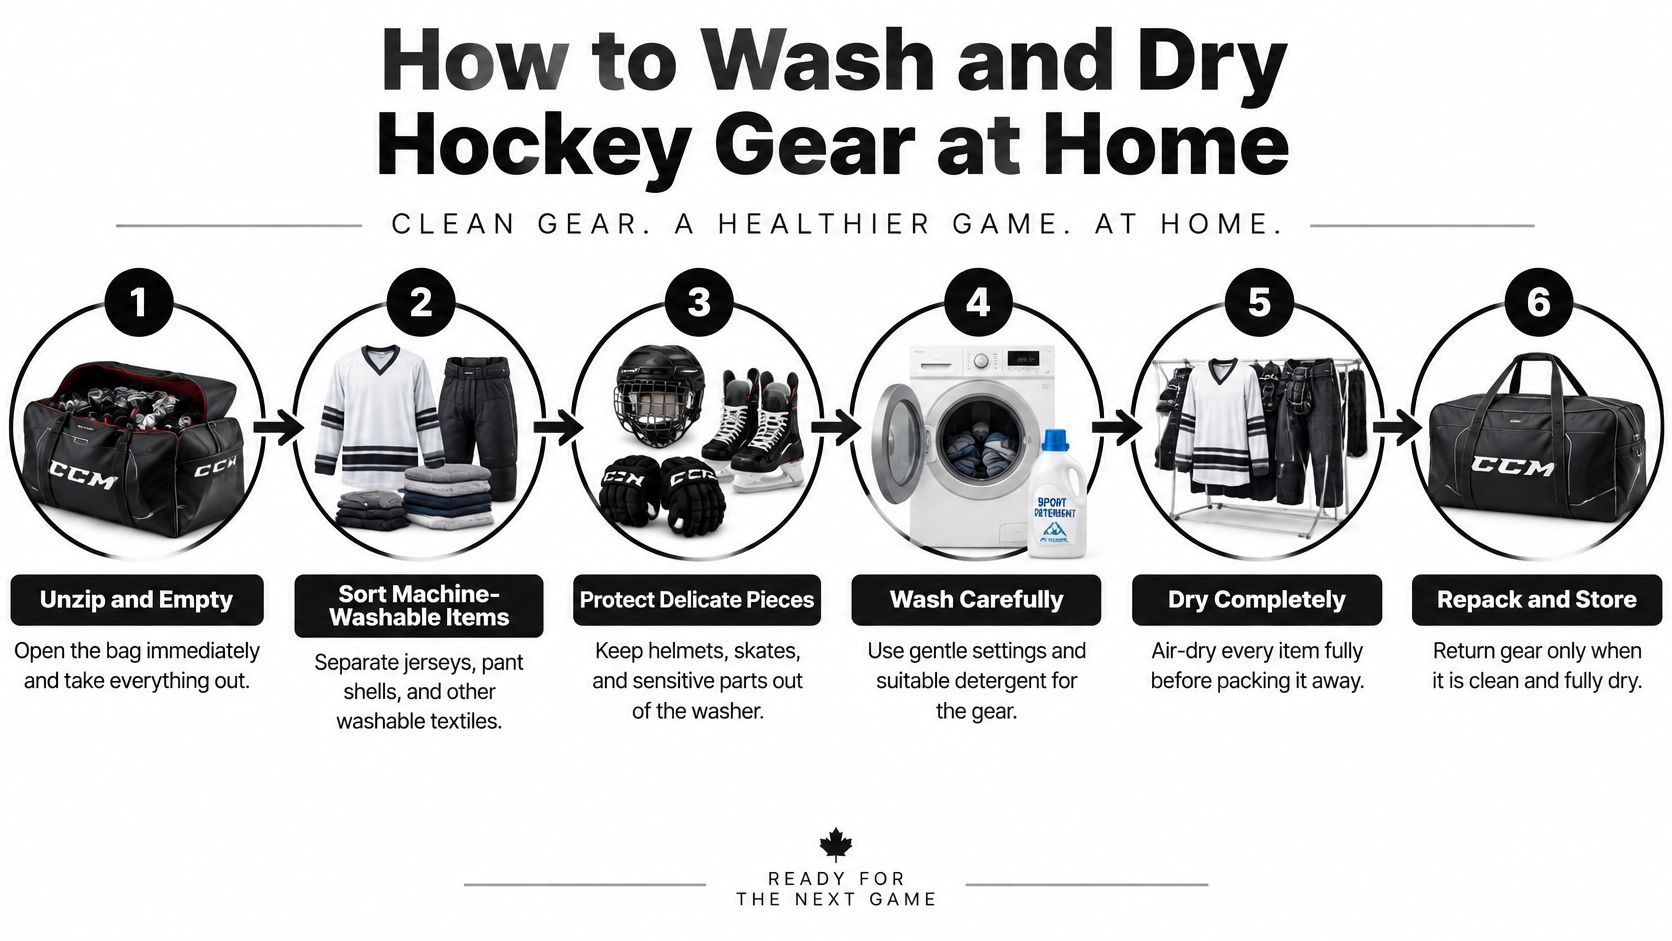
Use this workflow to keep washable clothing separate from pieces needing controlled hand care.
Empty, sort and prepare
Unzip the bag and remove everything, including clothing tucked into gloves or pant legs. Make separate groups for machine-washable textiles, hand-cleanable padding, and equipment that only permits a wipe-down.
Jerseys, pant shells, socks and base layers are candidates for the textile load, not automatic approvals. Check each label, especially on garments containing protective or specialist materials. Keep helmets and skates out of the washer.
Remove plastic inserts and padding only where they're designed to come out. Don't pry apart a fixed assembly to make washing easier. Keep removable components together so you can reinstall them correctly.
- Secure loose fasteners. Close hook-and-loop tabs where practical so they aren't dragging across other fabrics.
- Check pockets and folds. Remove tape scraps and loose debris before adding water.
- Allow room to move. Don't force bulky equipment into an overloaded drum.
- Keep the instructions nearby. Washing and drying permissions may differ even within the same brand.
Machine-wash permitted textiles
Where the label allows it, use cold water, a gentle cycle and ordinary mild laundry detergent. Follow the detergent directions rather than pouring extra product onto a strong smell. More soap isn't a substitute for proper cleaning and rinsing.
Avoid bleach. Don't escalate to a harsher chemical because a garment still smells after its first wash. Check whether it was rinsed adequately and dried completely before deciding it needs another treatment.
Remove the load promptly when the cycle finishes. Separate pieces before hanging them so sleeves, socks and folded fabric aren't resting wet against each other. Use machine drying only when the individual label permits it.
Hand-clean permitted padding
A laundry tub gives you control over where water goes. Prepare diluted laundry soap and use a soft brush or cloth on approved padded surfaces, concentrating on the lining rather than scrubbing protective structures aggressively.
Hand-cleaning doesn't automatically mean soaking. If the instructions permit surface cleaning only, work with a damp cloth or brush rather than immersing the whole piece. Where rinsing is allowed, remove the soap thoroughly.
Don't wring or twist protective padding to force out water. Press accessible wet fabric gently with a clean towel, then arrange the equipment in its normal shape for drying. A rushed wash that distorts a pad isn't a successful clean.
For a visual companion to the workflow, the following video can sit alongside the item-specific care instructions.
Finish with moving air
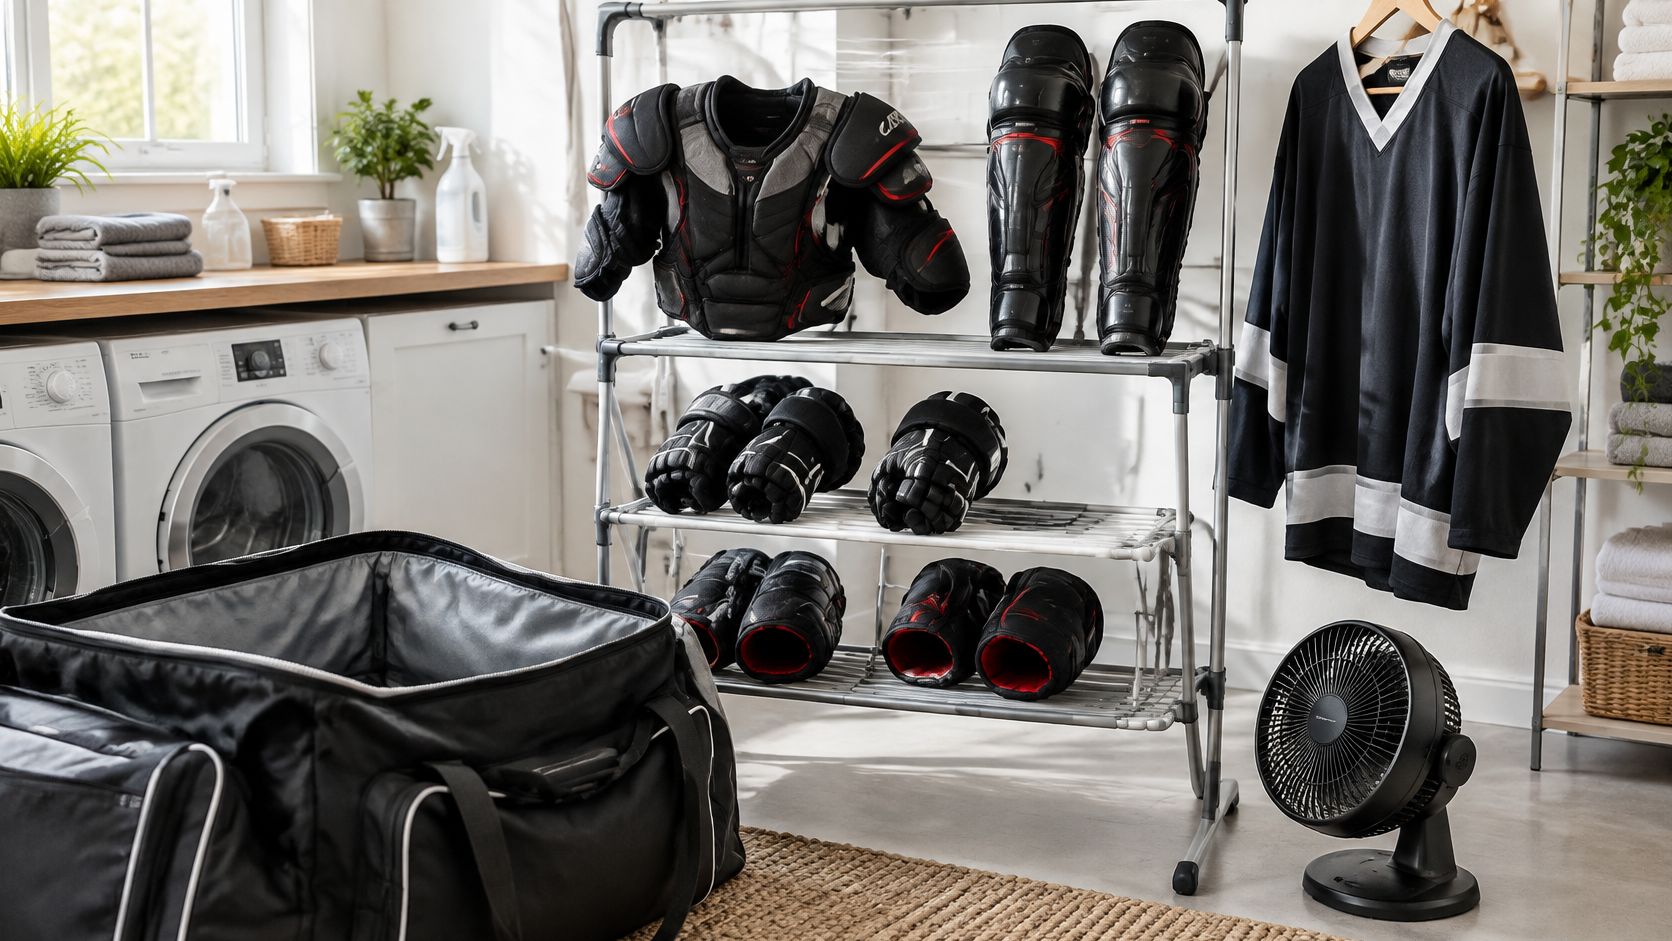
Hang each component separately in a ventilated space. Open straps, cuffs and approved removable liners so air can reach the surfaces that touched the player. A fan is useful when the turnaround between ice sessions is tight, but it doesn't make a cramped pile into a drying setup.
Practical rule: Don't judge dryness by the outer shell. Check the lining, folds and enclosed areas before packing.
Rack-dry gloves rather than applying heat. Keep leather and vulnerable components away from radiators, space heaters and other direct heat sources. Faster isn't better if the method damages the equipment.
Cleaning Skates, Helmets and Other Hard-to-Wash Gear
Some equipment needs less water and more patience. The conservative choice is controlled hand care unless the manufacturer explicitly permits something else.
Helmets and skates need targeted attention
Clean helmets with mild soapy water and a soft cloth, following the helmet manual. Wipe accessible interior surfaces, the shell and permitted face-protection components, then remove soap with a clean damp cloth and allow everything to dry. Don't immerse the helmet or apply an unapproved household disinfectant.
While it's in your hands, look at the shell, liner, straps and attachments. Cleaning gives you a useful inspection opportunity, but it doesn't qualify a damaged helmet for continued use.
For skates, loosen the laces and open the tongues. Remove insoles only if they're intended to be removable, then dry them separately. Wipe approved surfaces carefully and towel the blades completely rather than leaving wet steel inside a closed boot-and-blade assembly.
Keep skates out of soaking water and household laundry machines. The goal is access to the damp interior, not saturation of the entire boot.
Gloves, athletic protection and goalie equipment
Gloves require particular restraint because the palm and padded back aren't necessarily suited to the same treatment. Follow the model's cleaning instructions and arrange the gloves on a rack with cuffs open and fingers separated enough for airflow. Don't force the fingers apart or turn fixed liners inside out.
For other difficult pieces, use the component rather than the equipment name to decide:
- Athletic cups and hard plastic. Hand-wash permitted surfaces with mild soap, rinse as directed and inspect for cracks or sharp edges.
- Fabric athletic-protection carriers. Remove the hard insert where designed to do so, then follow the carrier's laundry label.
- Leather-palmed gloves. Avoid direct heat and unapproved soaking; use the maker's permitted cleaning method.
- Goalie equipment. Check instructions for each pad, glove and blocker rather than borrowing a player-equipment washing routine.
A washable liner doesn't make the entire protective assembly machine-washable.
Large goalie pieces also require a realistic drying plan. If you can't reach the lining for cleaning or provide enough space afterward, ask the manufacturer or an equipment-cleaning specialist before proceeding. Guessing with a valuable protective piece is a poor trade-off for saving a service visit.
Keeping Odour Under Control Between Washes
Spraying gear and calling it clean confuses fragrance with maintenance. Hockey Canada connects damp equipment with bacterial growth and athlete infections in its equipment-care advice, which also recommends regular cleaning, hanging equipment after use and periodic alcohol-based disinfection.
A deodorizer may change what you smell without removing the soil or trapped moisture. That makes it an optional finishing product, not the foundation of a hygiene routine.
Control the source rather than the scent
Give the bag its own cleaning appointment. Empty every pocket, remove debris and follow the bag's care instructions. Open compartments fully afterward; returning clean gear to a dirty, damp bag defeats the purpose of separating it for treatment.
Keep the drying arrangement open rather than enclosing it to contain the smell. If a household member moves everything into a cupboard immediately afterward, the equipment hasn't received the ventilation you intended.
Use these between-wash habits deliberately:
- Check hidden damp spots. Feel inside glove cuffs, shin-pad liners and shoulder-pad folds rather than relying on a dry-looking exterior.
- Keep dirty clothing separate. Put used base layers and socks in the laundry stream instead of tucking them back into protective gear.
- Use compatible disinfectants only. Where the equipment manufacturer permits alcohol-based treatment, follow the product's application and contact-time instructions.
- Avoid chemical improvisation. Don't mix cleaning products or assume a household surface spray is suitable for helmet padding or leather.
Give shared items a named owner
Personal gear and communal equipment need different responsibility arrangements. A player can manage their own bag, but someone must be assigned to clean shared team bags, pucks and bencheside items using methods appropriate to those materials.
Don't assume the last person to transport the equipment also cleaned it. A simple team checklist should identify who handles shared items and where they dry before storage.
Persistent odour after correct cleaning deserves investigation, not another layer of perfume. Recheck the bag, the drying location and the manufacturer's care instructions. If the equipment remains unpleasant despite a complete process, get an assessment before escalating to stronger chemicals.
When Hockey Gear Needs a Professional Cleaner
Professional care is a decision about materials, access and contamination, not just how bad the bag smells. Home washing is a sensible option for approved textiles and accessible surfaces. It becomes less suitable when you can't clean or dry the item without risking its construction.
Hockey Canada's equipment advice, cited above, recommends professional cleaning at least once per year. Treat that as a maintenance benchmark, not a promise that any cleaner can process every hockey item.
Choose the service by the item
| Situation | Practical Decision |
|---|---|
| Label-approved jerseys, socks and base layers | Home laundry or a suitable wash-and-fold service |
| Accessible padding with clear hand-care instructions | Home cleaning if you can complete the drying process |
| Persistent buildup despite correct home treatment | Ask an equipment-cleaning specialist to assess it |
| Leather, bonded structures or uncertain care instructions | Obtain manufacturer guidance before selecting a service |
| Flooding, suspected mould or prolonged wet storage | Seek a restoration assessment rather than attempting a routine wash |
| Cracked shells, degraded padding or failed attachments | Arrange a safety assessment or replacement, not merely cleaning |
Dry cleaning and hockey-equipment cleaning aren't interchangeable services. A business that handles delicate garments may be well suited to certain textiles without being equipped to treat a helmet, goalie pad or assembled skate. Confirm acceptance before sending protective equipment.
The service website shown below is a starting point for checking garment-care options and arranging an enquiry, not confirmation that every item in a hockey bag is accepted.
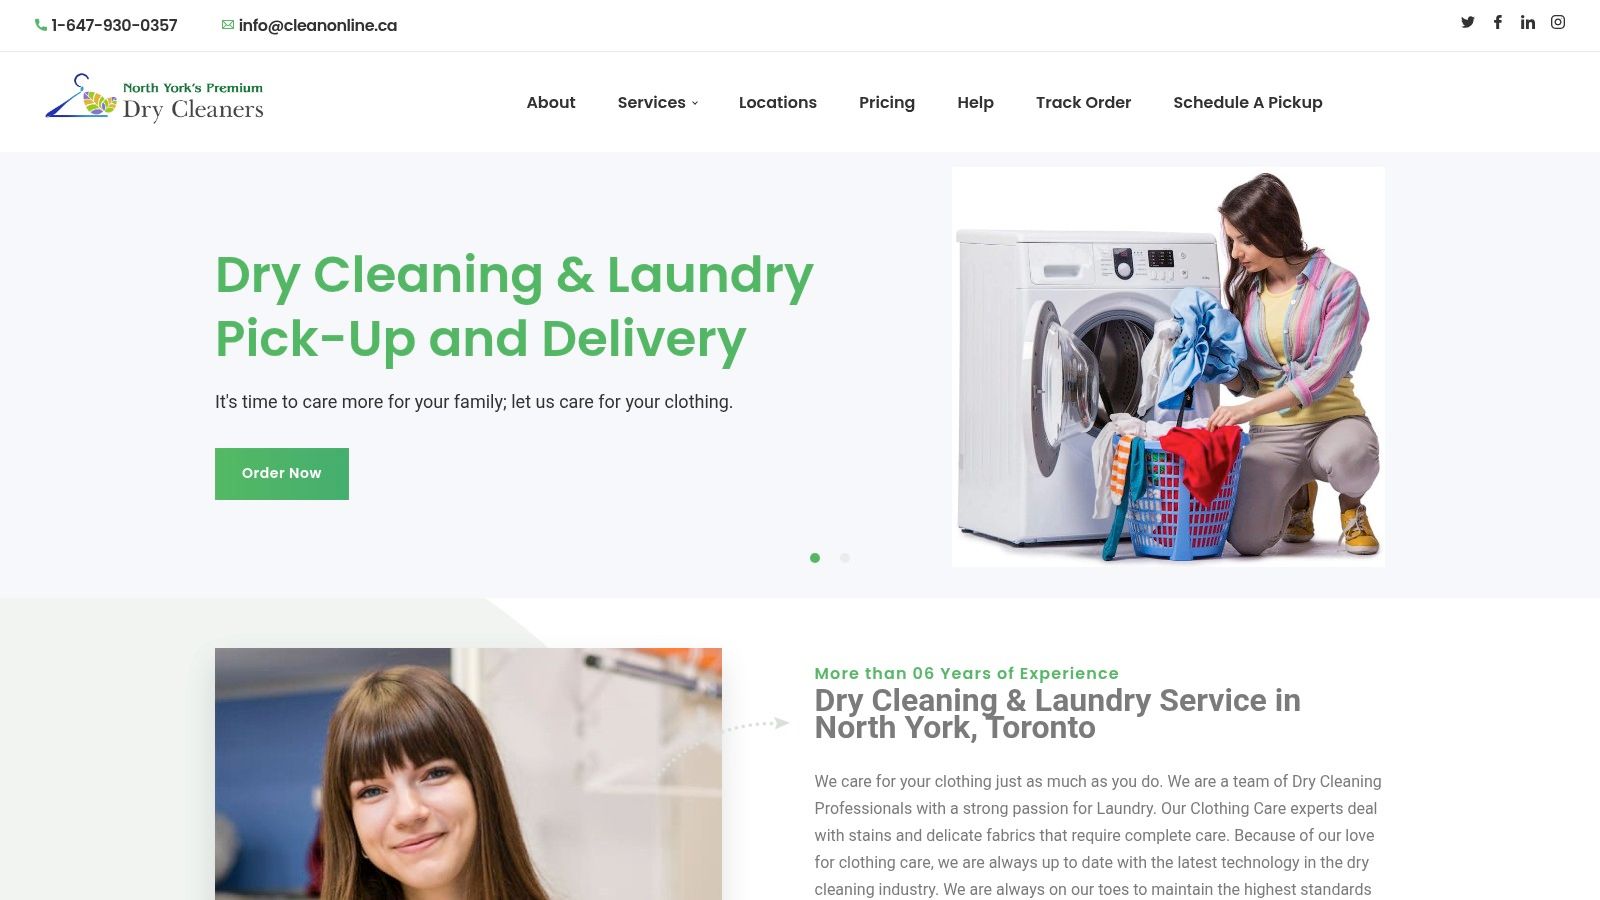
Ask before booking a Toronto pickup
Describe the exact equipment and its condition. Mention leather palms, fixed padding, removable liners, previous treatments and any water-damage history. Send photographs of the care labels if the provider requests them.
Before collection, confirm:
- Item acceptance. Does the service handle this specific textile or protective component?
- Treatment compatibility. Will the proposed process follow the manufacturer's restrictions?
- Return condition. Will the item be fully dry and correctly reassembled?
- Limits of service. Does the provider assess contamination or only perform routine cleaning?
Doorstep collection can solve the transport problem for Toronto households, but it doesn't replace those questions. Keep suspect equipment separate while awaiting advice, and don't assume visible staining, mould or structural damage will be resolved by a standard cleaning order.
A Simple Routine to Keep Your Gear Fresh All Season
A sustainable routine assigns each task to a moment that already exists. The return from the rink triggers unpacking. The household laundry routine handles approved clothing. A planned break in the playing schedule provides room for deeper equipment care.
Don't make smell the reminder. By the time everyone complains, you're trying to organise cleaning around equipment that's already overdue for attention.
Make the routine easy to hand over
Choose a permanent home for the drying rack, a separate place for used textiles and a clear spot for fully dry equipment. Keep the care instructions accessible so another adult or an older player can follow the same process without guessing.
Use a short household checklist:
- After the rink. Follow the established unpacking, surface-cleaning and drying routine.
- During laundry. Check labels and keep approved sports textiles moving through the wash.
- During a schedule break. Inspect padding and deal with cleaning that needs a longer turnaround.
- Before storage. Confirm condition and dryness rather than putting unresolved problems away.
A shared checklist also makes missing components easier to catch. Removable liners and athletic cups should return to their proper assemblies before the bag is considered ready.
Inspect before the season starts
Use pre-season cleaning to examine cracks, sharp edges, loose attachments and damaged protective components. If something looks questionable, set it aside for qualified advice instead of hiding the problem under tape or assuming a clean appearance means it's safe.
Cleanliness and protection are separate checks. A well-cleaned pad can still be worn out, and a tidy helmet can still have damage that requires attention.
A useful maintenance routine produces equipment that's clean, dry, correctly assembled and ready to inspect.
Empty the bag tonight and decide which items belong in the next home wash and which need an assessment. If persistent buildup or uncertain materials have stalled the job, arrange a service enquiry now rather than returning the unresolved equipment to storage.
CleanOnline offers laundry, specialised garment care and water-damage restoration, with complimentary doorstep pickup and delivery across Toronto and the GTA. For washable hockey clothing or items needing professional assessment, visit CleanOnline, North York's Premium Dry Cleaners to confirm what's accepted and arrange the appropriate service before sending protective equipment.
Enhanced by the Outrank app